When you are creating your first app on ruby on rails it default supports “sqlite” database. You can see it while open the “Gemfile” of your project using a text editer like “Sublime Text”. When your app’s data are growing bigger n bigger the “sqlite” is not suitable to store that data. So there are some alternative database systems for that like “mysql”,”postgresql” or “oracle”. My preferred choice is mysql. So .in this post I’ll show you how to create you first ROR app that includes mysql database support.
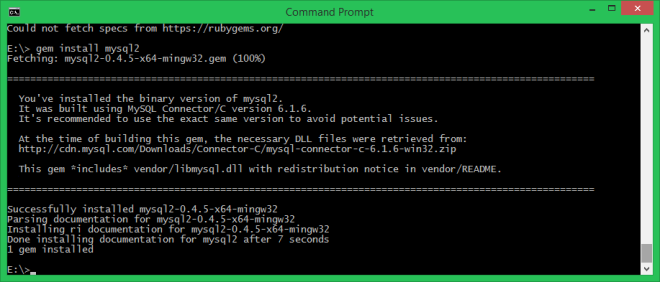
First you have to install gemfile for mysql . This can be install issuing the following command in the terminal window.
gem install mysql2
After that you can see the following progress on the terminal window
Then issue the following command to create new rails app that includes mysql support
rails new testr -d mysql
After few minutes that will create your new rails app.
Now move to the development directory issuing the following command on terminal window.
E:\>cd testr
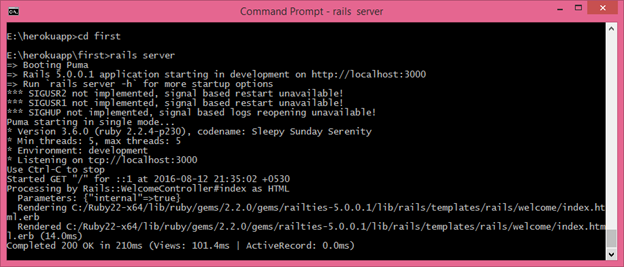
Then issue the following command in the terminal to run the app
E:\testr> rails server
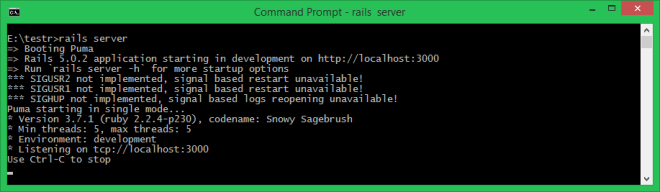
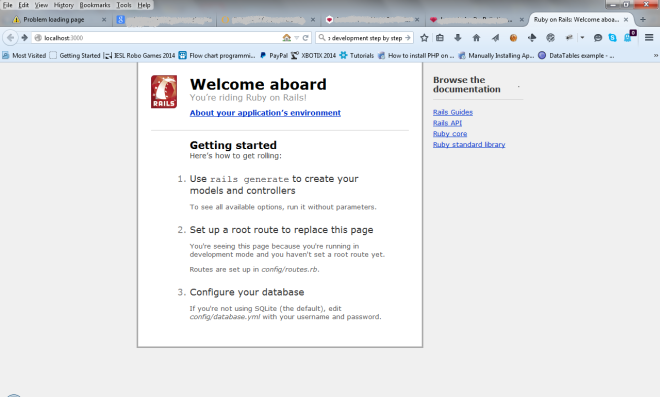
Then open your web browser and type the following url in the address bar
http://localhost:3000
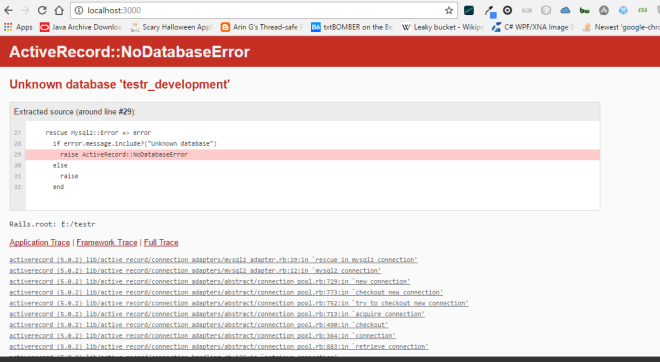
Oops.. ! . There is an error occurred 😦 . What can we do to resolve that error ?.
Ok, lets examine the database.yml in your app directory (in my example testr) using “Sublime Text” editor.
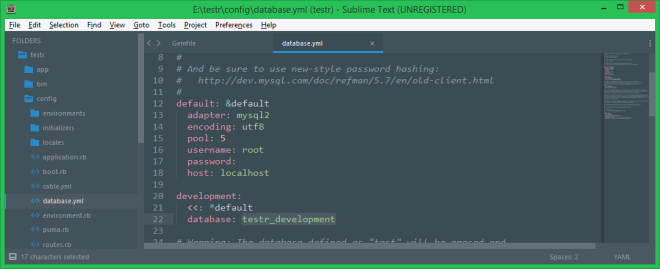
It shows us that there is a predefined database “testr_development” and we haven’t a database in our mysql server.
So to get rid of this we open the mysql command line interface and must issue the following command in it
mysql> create schema testr_development;
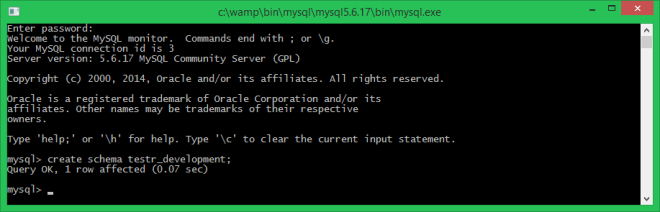
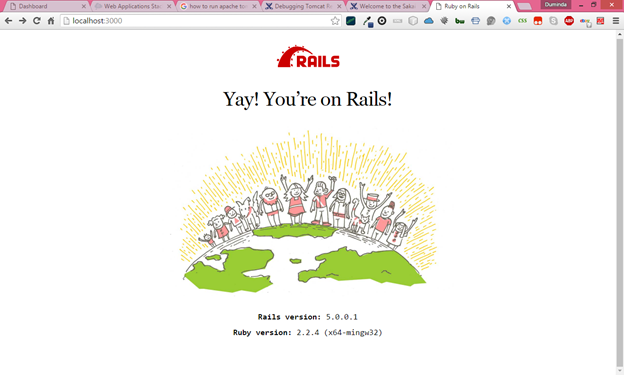
After that refresh the browser window and also see the terminal window. You can see that following result shows mysql is correctly configured with you project.

Yay! Now you know how to make ROR app with the support of mysql database.
Thats all .
Have happy coding and have a nice day 🙂 !